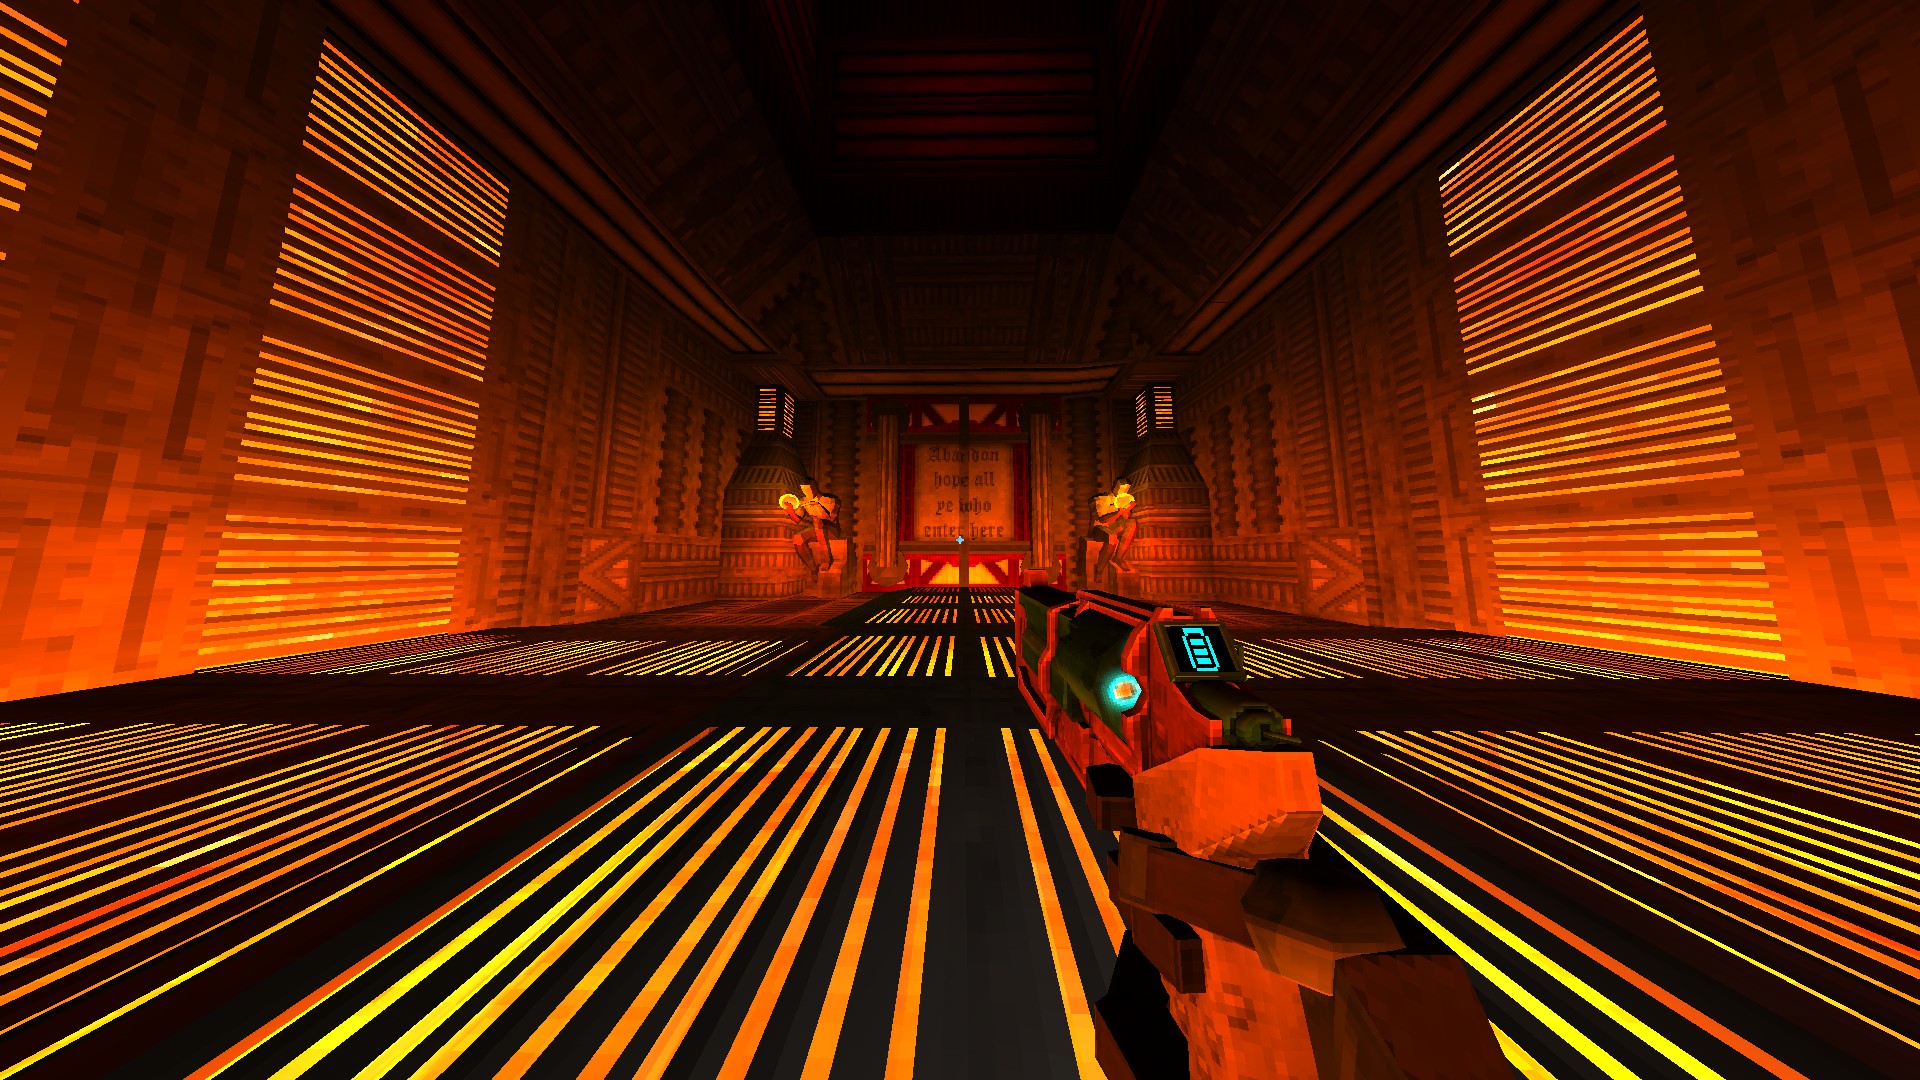
You've made it! The final level of the Prelude. Let's get right to it. The first thing you will see when you enter the level is a giant pool of lava. To the untrained eye, it looks impossible to cross. The intended path is to go around, through a tunnel of hazardous pistons and a hall of shredders. Too scary for us, you can just dash jump and wall bounce across until you reach the boss door. On repeat playthroughs, this would be all the advice we can really give you. The Cerberi are easily dispatched with a saw trap and freeze-frame rocket launchers aimed at their unfortunate spawn locations. However, on a first playthrough, this level is admittedly very difficult, especially on BRUTAL difficulty. Let's hop into how to deal with these two chums.

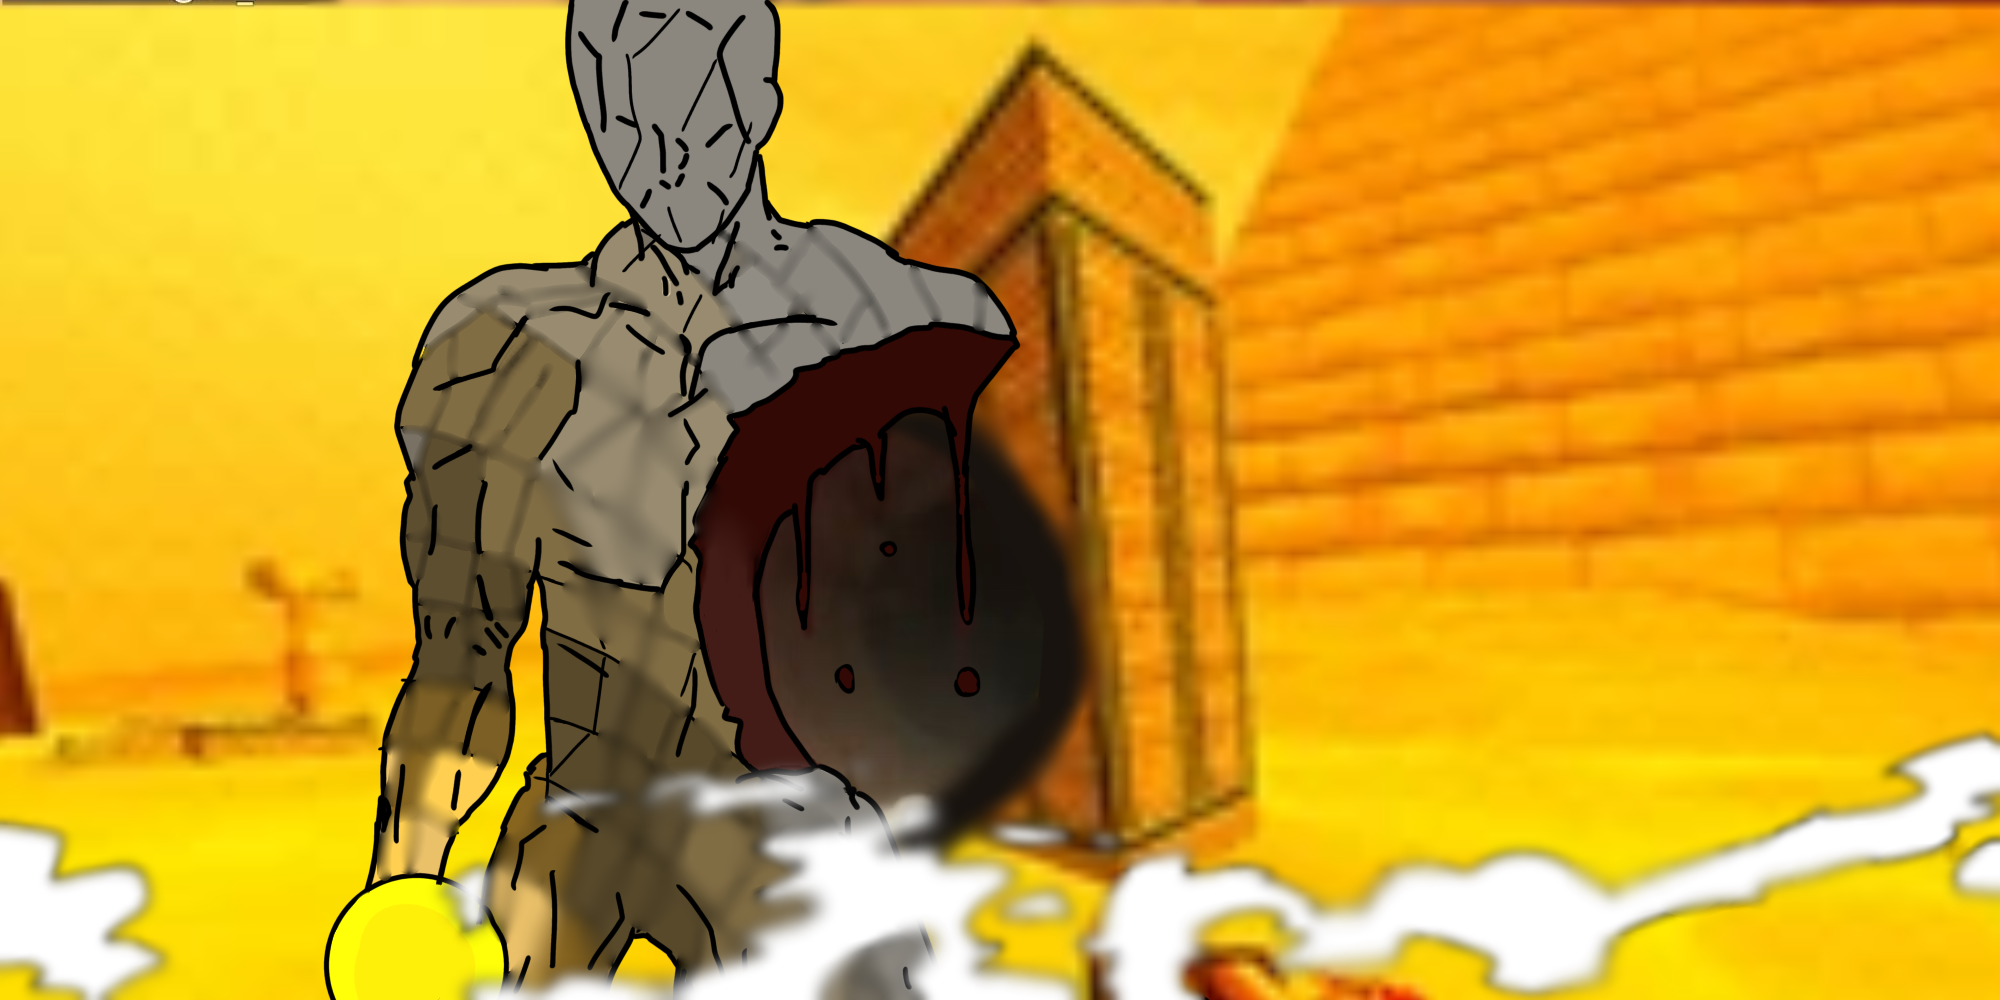
The CERBERUS is a slow but hard-hitting enemy. They can use one of 3 moves. The most deadly but also the easiest to take advantage of, is the ball throw. The CERBERUS will switch into Lebron James mode and hurl its yellow ball at you. Obviously, this can be PARRIED, but its PARRY WINDOW is incredulously short. This is a high-risk/high-reward tactic, especially in this level as it will take a significant chunk out of the CERBERUS's health. The other two moves to watch out for are the stomp and dash. The dash is simple enough due to the stance change as a telegraph. The telegraph on the stomp is fairly obvious as well, but it will force you into the air, which is actually a perfect location to wail on the CERBERUS with PROJECTILE BOOSTS and point-blank shotgun blasts. The CERBERUS takes extra damage from explosives and point-blank damage, so take advantage of this.
At half health (as one might be able to guess by us slipping "cerberi" into the explanations), the second CERBERUS will wake up. Thankfully it will match the current health of its compatriot. You can choose which CERBERUS to focus, but when the first one dies, the second will ENRAGE, increasing the frequency and damage of its attacks. It's actually optimal to keep the Cerberi close to the same amount of health and stay close to them. Although it may seem counter-intuitive, as the CERBERUS can use all of its moves at this range, the CERBERUS can also deal damage to itself and other enemies. In this case, the other enemy is namely the other CERBERUS and the damage is nothing to scoff at. And hey, killing both of them like this will give you the CHALLENGE for this level for dealing no fatal damage! It's now time for Layer 1: LIMBO. Take the ominous staircase lined with dormant Cerberi and descend into the seemingly peaceful depths of the first layer of HELL.